The magnetic heart! This trend quickly took over our feeds, and nail artists hopped in it in a heartbeat, pun intended, but it's actually trickier than we thought. Soon after trying it, the girlies shared with us the trial and error process, and after many blended clips, different magnets, and sore fingers, we got the mesmerizing magnetic heart. Some people were straight up no, like, don't even think about requesting it. Other artists created their own version by painting a heart with magnetic gel, which is a fun spin to this look. So, after seeing weeks of this trendy, I wanted to see what the fuzz is about, if it's hard to do, and if I could find a hack to save you frustration and sore fingers.
Magnetic gel
First, I wanted to see if the type of magnetic gel used affected this nail art look, and it did. I first tried a flash glitter magnetic gel, and it worked, but the heart shape was not that visible.
Then I tried a magnetic gel with a dual magnetic effect, like this one from Yogurt Nail Kr, and it was pretty but, again, not the super noticeable effect.
Lastly, I used this gel with finer/smoother magnetic glitter particles, which was the winner. Also, I noticed that I had to wait a few seconds for the heat to appear, like 5-8 seconds, holding the magnet to the nail, and slowly, the heart appeared.

If you are looking for quality magnetic gels you can find amazing ones at Zillabeau. They have these new popular magnetic soft glitters that work great for this look. You can use my code NAILFABS for 10% off your purchase.
Metal tool
So, I was looking everywhere for a paperclip at home; I didn't want to go out and buy clips just for this purpose, so I was determined to use what I could find at home.
I first found a thin/bendy keychain ring; I got a pair of pliers and started twisting it like people on social media; even though the metal ring was somewhat bendy, it was still hard to manage with my fingers, and I had to get stronger tools to bend it; it was somewhat working, but the shape of the heart was a bit disproportionate because one side was longer than the other side and that was bothering me.

I tried to fix it, but because this metal was still hard to bend, I kept messing with it until it didn't work anymore, and I was getting too frustrated, to the point that I wanted to quit, so I thought...
There has to be a way to get something more manageable to bend and manipulate and not destroy your thumbs, so I found jewelry-making wire super bendy! But it didn't work because it was not sticking to the magnets.

Then I found pipe cleaners! But what about the fuzzy part? I was like, let me just try it. I placed it next to the magnet, and it was sticking, so that was a win. I cut a piece, twisted it, and made the shape, but it was too short. The magnet was too close to the nail, so it was moving the glitter particles before the heart-shaping part could get close to the nail.

I made a second one; it was super quick and easy because of how easy pipe cleaners bend, longer like 10mm long, and it worked! But because I needed to place the metal as close as possible to the nail, the fuzzy part was touching the gel. I used my metal pliers to pull out the fuzzy part to fix that.
I cannot emphasize this enough: for this part, do this away from your nail table, place the trashcan under your hands, and start pulling off the fuzzy part. Otherwise, like me, you will end up with fuzzies everywhere, and it's a mess. Don't do that.
The Magnet
You need a strong magnet. I tried using shorter rectangular magnets like the ones on the wands or a cylinder like this one, but it didn't work. This long, strong magnet was the way to go.

Placement
This was the trickiest part, or the part that took the longest, to figure out where to place the pipe cleaner on the magnet. If it's placed on the side that pushes away magnetic particles, it will not shape the heart; you need to put it on the side that moves in the magnetic glitter.

You can bend the end 90 degrees so it stays on the magnet.
The ends of the pipe cleaner, the part that makes the heart shape, need to be spread apart. I would say a 45-degree angle in between, but it depends on what kind of heart you want to make. Whether you like a chubbier heart or a slim one depends on how far apart the two ends are.

Also, the size of the heart you create will depend on how long the ends are. I love using the pipe cleaner because you can cut it with regular scissors to make it shorter or even out the sides.

Okay! To recap the magnetic heart hack:
- Cut a piece of pipe cleaner to 8-10 cm.
- Bend it in half, start twisting it, and then separate the ends.
- Move out of your nail station towards the trashcan, and with a pair of wire pliers, start pulling out the fuzzy part on the ends of the pipe cleaner. (This will not take long; it's really easy).
- Paint the nail with the magnetic gel of your choice. I had the best results using a finer glitter magnetic gel.
- Use a strong magnet to bring all the magnetic particles to the top.
- Place the pipe cleaner on the magnet, bring the separated ends towards the nail, and hold it as close as possible for 8 to 10 seconds.
- You have a heart! When you are happy with the shape, take it to the lamp and cure for at least 30 seconds.
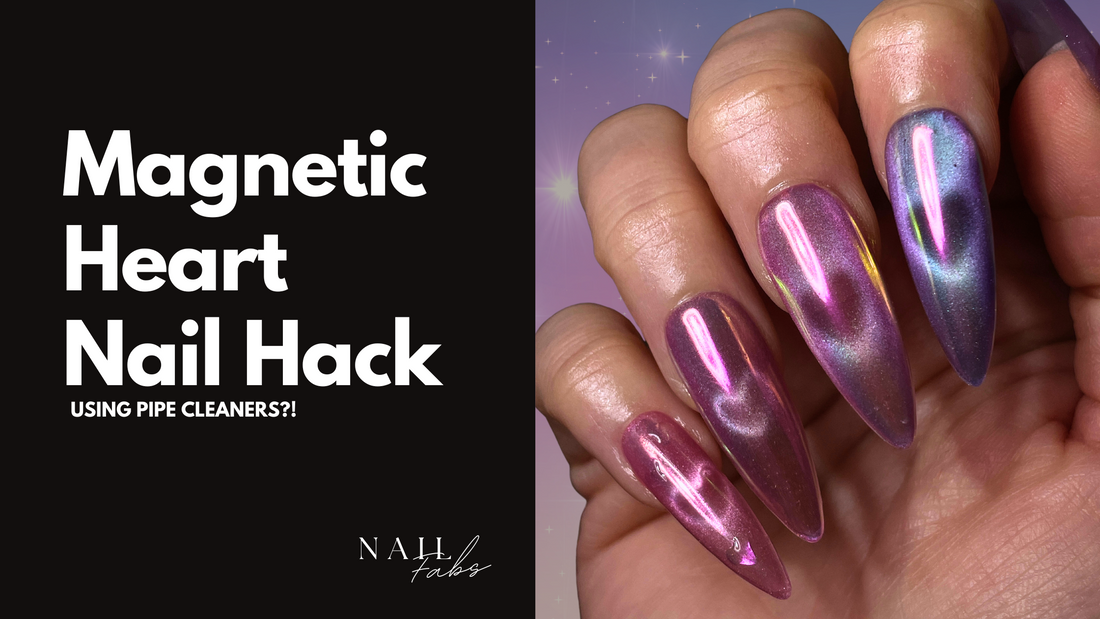
You can get as creative as you want, make it simple, and let the heart shine and be the center of attention because it's beautiful! Much more than I thought because, tbh, I was not super excited about this trend; now I can't stop moving my hands and staring at them. Oh, and if you're wondering how I got this look, I just added a layer of sating chrome powder and sealed it with a topcoat.
Thank you for joining me today for another Fab Sauce nail blog episode. We took a quick break because I am working on something special for you soon! I will post on my Instagram stories to tell you more about it and a link to sign up for the waitlist to get first dibs and hot tea on this super exciting thing I got for you.
Enjoy the rest of your weekend, and I'll talk to you next time, byeee.